Short Answer
Underfloor heating has emerged as a preferred method for maintaining warmth in homes, particularly when installed atop concrete floors. Its subtlety, efficiency, and ability to deliver consistent temperatures across a space make it a popular choice among homeowners and builders alike. In this guide, we will delve into the intricate process of installing underfloor heating on a concrete substrate, ensuring that you have all the necessary information to undertake this project with confidence.
Understanding Underfloor Heating Systems
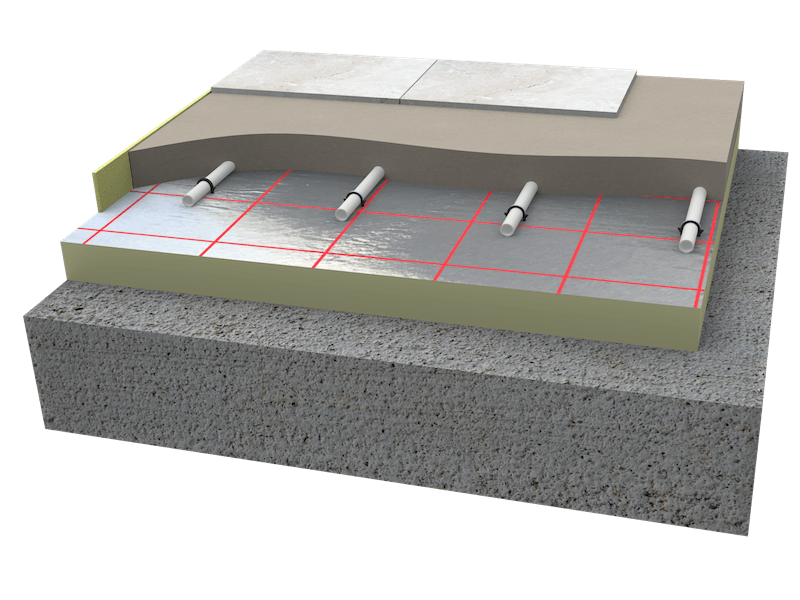
Before embarking on the installation journey, it is crucial to understand the two primary types of underfloor heating systems: electric and hydronic. Electric systems utilise heating cables or mats which are laid beneath the floor surface, making them simpler and quicker to install, particularly in smaller areas. Conversely, hydronic systems circulate warm water through pipes laid within a concrete slab. While installation is more complex and usually requires professional assistance, hydronic systems often prove to be more cost-effective in terms of energy consumption over the long term.
Preparation: Tools and Materials
Preparation is vital for a successful installation. The following tools and materials will be necessary:
- Underfloor heating mats or pipe (depending on your chosen system)
- Insulation boards
- Cable ties (for electric systems)
- Pipe clips (for hydronic systems)
- Flooring adhesive
- Digital thermostat and sensors
- Screeding compound or self-levelling compound
- Spirit level
- Measuring tape
- Utility knife
- Drill
- Screwdriver
Step 1: Assessing the Concrete Base
The first step involves evaluating the condition of the concrete floor. Ensure the surface is dry, clean, and free from cracks or imperfections. If defects are discovered, they should be repaired prior to proceeding. An even base is paramount, as it allows the heating system to function optimally.
Step 2: Insulating the Substrate
To maximise the efficiency of the underfloor heating system, insulation boards should be laid over the concrete substrate. These boards help to retain heat and direct it upwards into the living space, thereby reducing energy consumption. The boards must be cut to size and laid tightly together, ensuring there are no gaps that could compromise performance.
Step 3: Laying the Underfloor Heating Elements
For electric systems, carefully lay the heating mats or cables onto the prepared insulation, ensuring they are evenly spaced. It is crucial to follow the manufacturer’s guidelines regarding spacing and installation. Use cable ties to secure the cables, preventing them from shifting during subsequent steps. For hydronic systems, install the piping in a consistent manner, creating loops in accordance with the specified design. Maintain the correct distance between pipes for effective heat distribution.
Step 4: Installing the Digital Thermostat
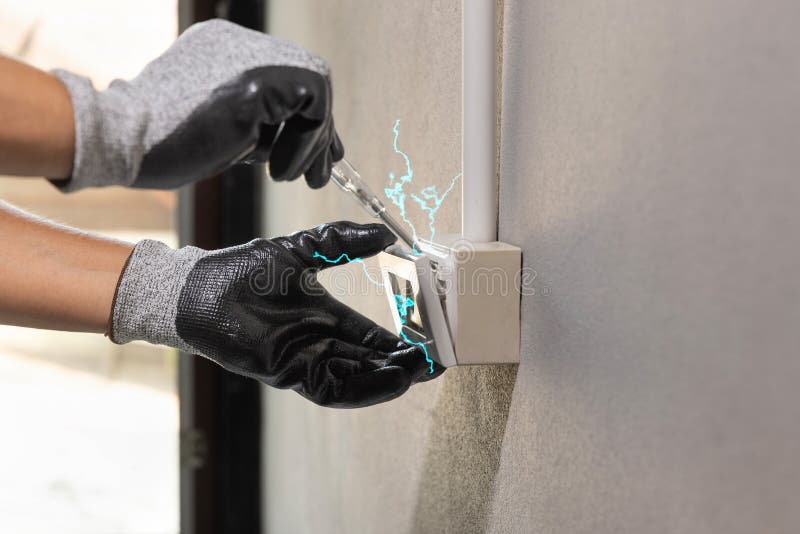
A digital thermostat will oversee the operation of your underfloor heating system. It is typically installed on a wall away from furniture and direct sunlight. Follow the manufacturer’s instructions for wiring the thermostat to the heating system and ensure that the sensors are placed in a suitable location to monitor floor temperature accurately.
Step 5: Pouring the Screed
With the heating elements in place, the next step is to cover them with a screed or self-levelling compound. This layer not only protects the heating system but also facilitates efficient heat transfer to the floor surface. Pour the screed evenly over the heating elements, using a trowel or screed bar to ensure uniform thickness. The recommended depth is typically around 40-70mm, depending on the system specifications.
Step 6: Allowing Cure Time
Once the screed has been poured, it is imperative to allow adequate time for curing. This process usually takes about 28 days, but it may vary based on environmental conditions and the thickness of the screed layer. It is essential that the screed is fully cured before proceeding with any floor covering to prevent damage or moisture retention.
Step 7: Installing the Final Floor Finish
After curing, the final floor finish can be laid. This could be tiles, laminate, or engineered wood – each has specific compatibility with underfloor heating. Consult manufacturer guidelines about floor coverings to ensure compatibility with your underfloor heating system. Proper installation of the floor finish is vital for achieving the desired aesthetic and functional outcomes.
Step 8: Testing the System
Before enjoying the comfort of underfloor heating, conduct a thorough test. Turn on the system to check for functionality and ensure it reaches the desired temperature without any irregularities. Monitoring should continue for a few days to confirm that everything is operating effectively.
Conclusion
Installing underfloor heating on a concrete floor involves careful planning, precise execution, and an understanding of the chosen system. Whether opting for electric or hydronic heating, following these detailed steps will empower you to create a warm and inviting environment within your home. With the right preparation and execution, underfloor heating will enhance comfort and efficiency, transforming your space into a cosy retreat during the chillier months.
FAQ
What are the benefits of underfloor heating?
Underfloor heating provides consistent warmth, is energy-efficient, and can be installed with various floor finishes.
How long does it take for the screed to cure?
Typically, screed takes about 28 days to cure fully, but this can vary based on environmental conditions.
FAQ
What are the benefits of underfloor heating?
Underfloor heating provides consistent warmth, is energy-efficient, and can be installed with various floor finishes.
How long does it take for the screed to cure?
Typically, screed takes about 28 days to cure fully, but this can vary based on environmental conditions.


Leave a Reply