Short Answer
In an era where digital convenience reigns supreme, many enthusiasts find themselves reminiscing about the nostalgic warmth of analogue audio. Reel-to-reel tapes, with their rich history and auditory charm, have become prized possessions for collectors and audio aficionados alike. However, the challenge lies in preserving these auditory treasures in a modern format. Thus, converting reel-to-reel tape to MP3 serves not just as a utilitarian task, but rather as a transformative journey that breathes new life into cherished recordings. This comprehensive guide will lead you through each meticulous step of the conversion process, ensuring that your beloved tapes are seamlessly transitioned into the digital realm without losing their soul.
Understanding the Materials and Equipment Required
Before embarking on your conversion odyssey, it’s imperative to gather all necessary materials and equipment. For an efficient process, ensure you have the following:
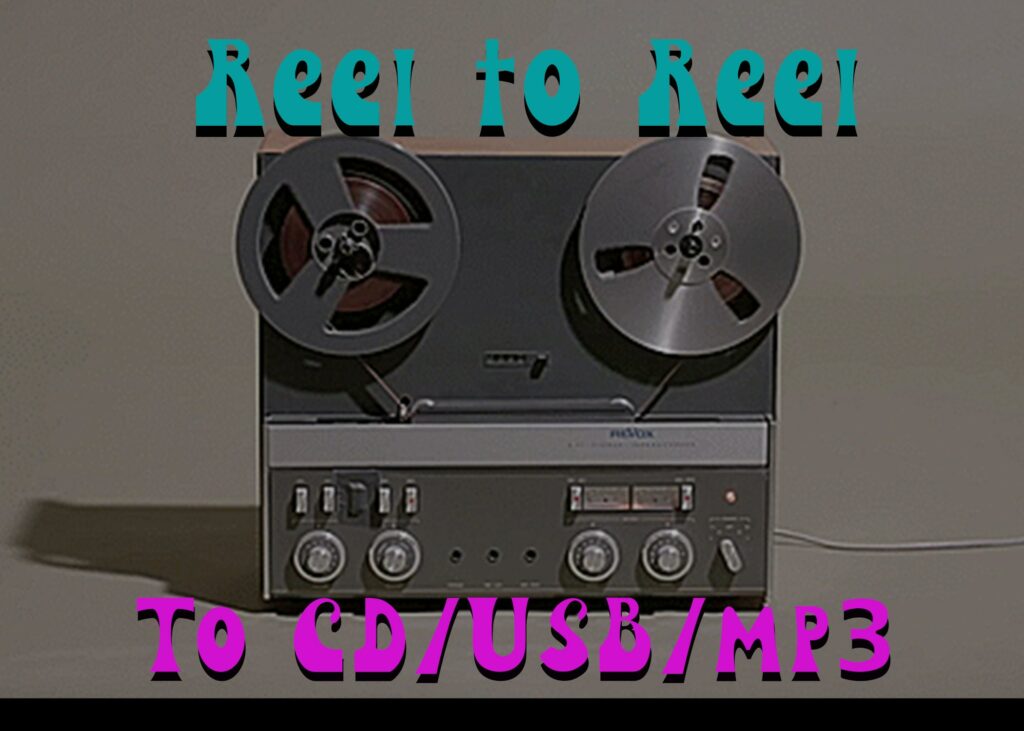
- Reel-to-Reel Tape Deck: The cornerstone of your setup; it’s essential to have a functional tape deck that can handle the specific formats of your tapes, whether they are 1/4-inch or 1/2-inch reels.
- MP3 Converter or Audio Interface: This device will serve as the conduit between your analogue and digital worlds, converting the sound signals from the tape into a format your computer can understand.
- Cables: Quality cables are paramount; an RCA cable for connecting the tape deck to the audio interface, and potentially a USB cable to link your interface to your computer.
- Computer: A reliable computer with sufficient storage space for your audio files and compatible audio recording software.
- Software: A digital audio workstation (DAW) or audio recording software, such as Audacity, which is free and user-friendly, will suffice.
- Headphones: For monitoring the audio quality during the recording process.
- Cleaning Supplies: Cleaning tapes or magnifying glasses can help you ensure the tape deck and the reels are in optimal condition.
Step 1: Preparing Your Workspace
Once your tools are assembled, it’s time to create an environment conducive to concentration and efficiency. Find a quiet space where distractions are minimised, and where the light is adequate. Ensure that your work area is free from any clutter that could serve as an obstruction. Lay everything out systematically; a well-ordered setup will enhance your workflow as you navigate through this undertaking.
Step 2: Inspecting and Cleaning the Tape
Before proceeding, examine the tape itself. Look for signs of damage such as tears or mildew which could jeopardise your quality. Use appropriate cleaning tapes if necessary to remove any grime that may have accumulated over the years. A pristine tape can mean the difference between an average and a splendid digital conversion.
Step 3: Connecting the Equipment
With your tape cleaned and your workspace ready, it’s now time to connect your equipment. Plug the RCA cables from the output of the reel-to-reel tape deck into the input of your audio interface. Next, connect the interface to your computer. Double-check all connections; reliability is key, and loose links can jeopardise sound quality.
Step 4: Setting Up the Recording Software
Launch your chosen software and adjust your settings accordingly. Set the input to the audio interface you are using. Select a desirable sampling rate; 44.1 kHz is common for CD-quality playback, while 96 kHz provides even better fidelity. Configure the software to record in MP3 format, adjusting the bitrate to your preference—higher bitrates yield superior sound quality, while lower ones save space.
Step 5: Monitoring Levels
Before recording, it’s crucial to check the levels of your audio. Start by playing a section of tape, then watch the meters in your software to ensure they are not peaking into the red zone, which indicates distortion. Adequately adjusting the input levels now will save you the headache of post-recording corrections.
Step 6: The Recording Process
With everything set, press play on your tape deck and record on your software simultaneously. This step requires your utmost attention; listen intently through your headphones to monitor any issues such as unwanted noise or distortion. If problems arise, don’t hesitate to pause, rectify the issue, and resume the recording process with fresh determination.
Step 7: Editing Your Recording
Once your tape has been fully recorded, the real fun begins—editing. Listen through your recording thoroughly, marking any sections you wish to trim or enhance. Software features typically allow you to cut out extraneous silence at the beginning and end, adjust volume levels, or even apply effects if desired. Take your time; refining your audio can transform a raw recording into a polished piece.
Step 8: Saving and Exporting Your Files
Upon finalising your edits, it’s time to save your project. Be sure to save a copy of the file in the original format in case further modifications are needed later. Next, export the audio; the option to save as MP3 should be readily available. Choose your desired bitrate settings once more, ensuring your exported file meets your aspirations for quality versus size.
Step 9: Backing Up Your Files
In this digital age, safeguarding your creations is essential. Make back-ups on external hard drives and cloud storage to ensure that your cherished recordings will withstand the test of time—both in terms of technology and memory.
Conclusion: Relishing Your Digital Renaissance
Having traversed the insightful journey of converting reel-to-reel tapes to MP3, you now possess not only your original recordings in a modern format but also a newfound appreciation for the process itself. Embrace your digital renaissance, share your newly digitised audio treasures with others, and, most importantly, enjoy the richness that your cherished reel-to-reel tapes have to offer. Each conversion not only safeguards a slice of history but also enriches your personal narrative, allowing these cherished sounds to resonate for generations to come.
FAQ
What equipment do I need to convert reel-to-reel tape to MP3?
You will need a reel-to-reel tape deck, an MP3 converter or audio interface, quality RCA cables, a reliable computer, and audio recording software like Audacity.
How do I ensure the best audio quality during conversion?
Monitor your audio levels while recording, adjust settings in your software for optimal sampling rates, and use higher bitrates when exporting your MP3 files.
FAQ
What equipment do I need to convert reel-to-reel tape to MP3?
You will need a reel-to-reel tape deck, an MP3 converter or audio interface, quality RCA cables, a reliable computer, and audio recording software like Audacity.
How do I ensure the best audio quality during conversion?
Monitor your audio levels while recording, adjust settings in your software for optimal sampling rates, and use higher bitrates when exporting your MP3 files.




Leave a Reply