Short Answer
If you’ve ever wondered whether your garage door electric motor could benefit from an upgrade, you’re certainly not alone. Many homeowners find themselves confronting the perplexing question: Should I stick with my old system, or is it time for an upgrade? The dilemma often lies not just in the inherent desire for modern technology but also in the potential challenges associated with installation and functionality. In this guide, we’ll explore the vital aspects of upgrading your garage door electric motor, ensuring you make an informed decision that enhances both convenience and security.
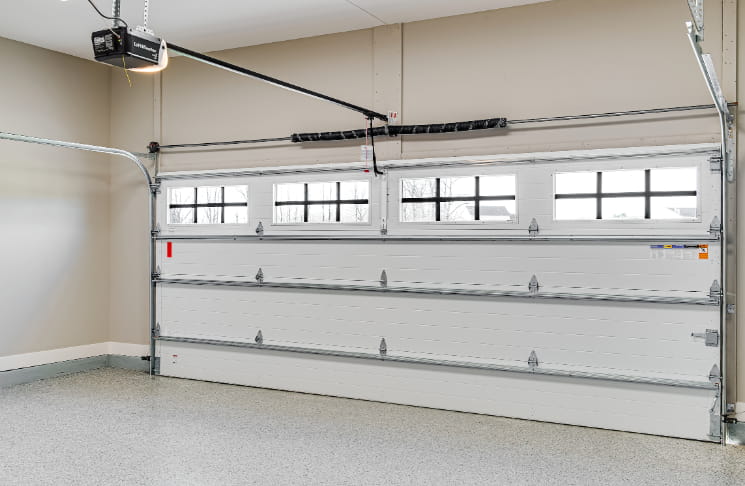
Let’s begin with the fundamental understanding of what a garage door electric motor entails. This device, often referred to as an opener, is the heart of your garage door system, facilitating the opening and closing mechanism with ease. As technology has advanced, so too have the capabilities of these motors, leading to improved security features, energy efficiency, and operational speed.
When contemplating an upgrade, you might be questioning: How do I identify when it’s time to replace my motor? Numerous telltale signs signify the need for change. Unusual noises during operation, inconsistent functioning, or a motor that frequently overheats can signal impending failure. Additionally, if your motor lacks contemporary features like smartphone integration, enhanced safety measures, or quieter operation, upgrading could be a viable option.
To aid your decision-making process, here are essential upgrade tips that should be considered:
- Assess Your Needs: Every homeowner’s requirements are distinct. Do you utilise your garage frequently? Do you require an enhanced security system? Identifying your specific needs will help you select a motor with the right features.
- Choose the Right Type: Garage door electric motors come in various styles, including chain drive, belt drive, and screw drive mechanisms. Chain drives are robust and perfect for heavy doors, while belt drives offer quieter operation, ideal for homes with living spaces adjacent to the garage. Screw drives are generally low maintenance, making them a practical choice for many.
- Look for Safety Features: Modern garage door openers often include safety features such as automatic reversal systems, which prevent the door from closing if an object is detected. Some advanced systems even offer additional sensors that enhance your security.
- Consider Smart Technology: In an age dominated by smart devices, integrating your garage door motor with your smart home system can considerably augment convenience. Devices compatible with smartphone applications enable you to monitor and control your garage door remotely, providing peace of mind, especially when you’re away from home.
- Check the Motor’s Horsepower: The power of the motor plays a pivotal role in its performance. For standard residential garage doors, a motor with 1/2 to 3/4 horsepower is typically sufficient. For heavier doors, consider upgrading to a 1 horsepower motor to ensure reliable operation.
- Read Reviews and Ratings: Delving into consumer reviews can illuminate potential pitfalls or standout features of particular models, guiding you towards a well-informed choice.
- Factor In Warranty: A robust warranty can protect your investment and offer assurance regarding the motor’s longevity and durability.
Having discussed the upgrade tips, let us delve into the installation basics. Many homeowners, daunted by the complexities of installation, often resort to professional services. Yet, with the right tools and a modicum of DIY aptitude, one can successfully undertake this project independently. Here’s a straightforward guide to help you get started:
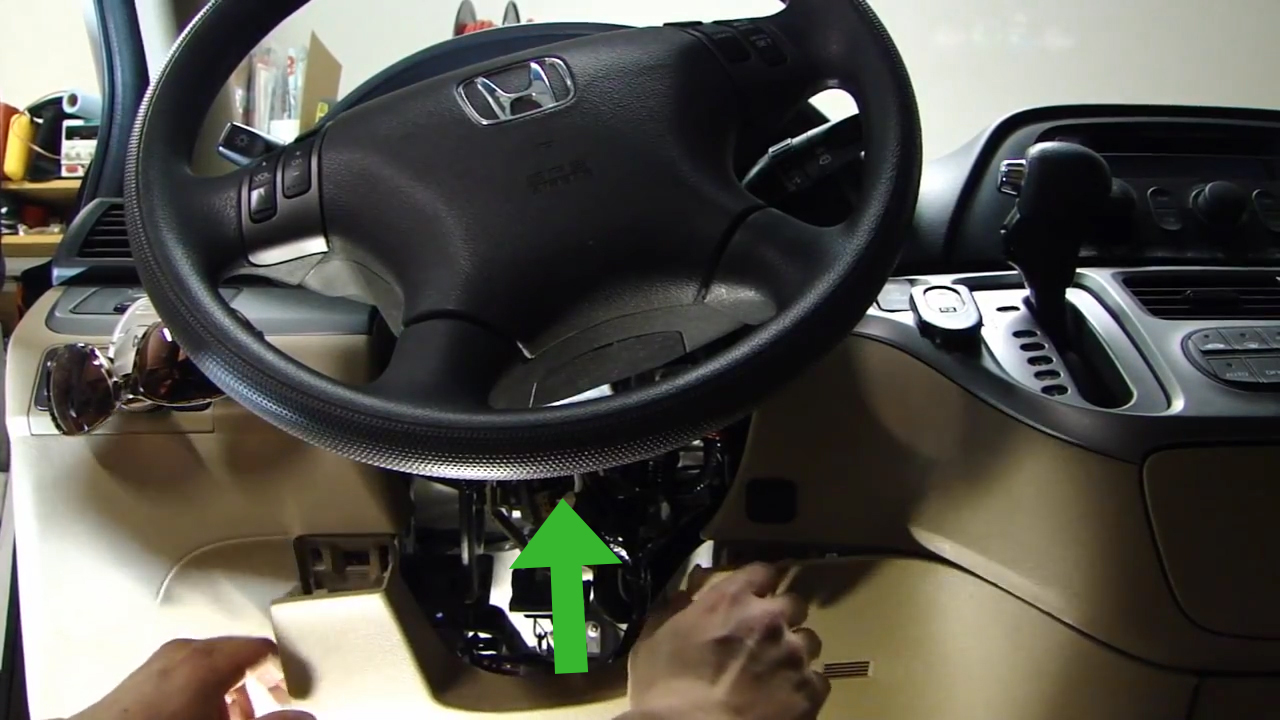
- Gather the Necessary Tools: Prior to commencement, assemble all required tools, including a screwdriver, wrench set, drill, and safety goggles. Having everything at hand minimizes disruptions during installation.
- Disconnect Power: Before working on your garage door opener, ensure that it is completely disconnected from the power source. This safety precaution is paramount when dealing with electrical components.
- Remove the Old Motor: Begin by detaching the existing motor. This usually involves unscrewing it from its brackets and disconnecting the wiring. Remember to keep track of the screws and components for reassembly.
- Install the New Motor: Position the new motor in place and secure it with screws. Connect the wiring, ensuring you follow the manufacturer’s instructions closely to avoid electrical mishaps.
- Adjust the Settings: Most modern motors will require initial configuration. Follow the setup instructions, which may include adjusting the limit settings to determine how far the door should open and close.
- Test the System: After installation, reconnect the power and test the motor. Observe for any irregularities or unusual sounds, and make necessary adjustments to the settings.
In conclusion, upgrading your garage door electric motor is a significant endeavor that can dramatically enhance the functionality and security of your home. By assessing your needs and carefully selecting features, you can find a motor that aligns perfectly with your lifestyle. Additionally, understanding the installation process allows for either a professional or DIY approach, saving you time and potentially money.
The playful question remains: Are you ready to elevate your garage door experience, or will you continue to battle with an ageing system? The choice is yours, and armed with this knowledge, you are well-equipped to make an informed decision.
FAQ
What are the benefits of upgrading a garage door electric motor?
Upgrading can improve operational speed, increase security features, reduce noise, and allow integration with smart home systems.
What tools are needed for installing a garage door electric motor?
Common tools include a screwdriver, wrench set, drill, and safety goggles.
Is professional installation recommended for garage door motors?
While DIY installation is possible, professional installation is recommended for those unfamiliar with electrical work or garage door mechanisms.
Leave a Reply